> For the complete documentation index, see [llms.txt](https://help.checkoutchamp.com/llms.txt). Markdown versions of documentation pages are available by appending `.md` to page URLs; this page is available as [Markdown](https://help.checkoutchamp.com/crm/gateway-setup/gateway-integrations/trx.md).
# TRX
**STEP 1**
Go to **Gateways** | **Gateway Integrations** and select the TRX tile. Click **+Activate**.
**STEP 2**
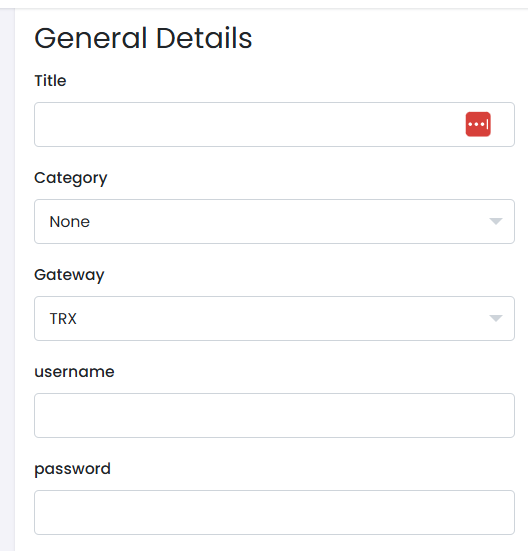
Enter the following information specific to TRX:
* **Title** - Enter a title of your choosing
* **username** - Obtained from TRX. Required.
* **password** - Obtained from TRX. Required.
Enter **Descriptor**. It is required for all gateways.
Click the **Create Gateway** button to save your changes and create the gateway
**STEP 3**
Assign the gateway to campaign products